
The faster your website loads, the happier your visitors will be. Also, Google will reward you with higher rankings in their search results if your page speed is on par with your competition. But how can you make sure your WordPress website loads fast?
If you’re new to WordPress and don’t have much technical background, don’t worry. There’s an easy solution for speeding up your WordPress website. You’ll save time and money and attract more traffic to your website when you take advantage of this solution.
In this post, we’ll look at how to install W3 Total Cache plugin for WordPress. You’ll learn how to use the plugin to speed up your WordPress website step-by-step.
Let’s get started!
Here are a few related articles you might want to read:
- 9 Good Reasons to Use WordPress to Build Websites
- How to Become a Freelance Web Developer: The Ultimate Guide
- How to Setup WordPress Properly After Installation
What we’ll cover in this post:
Here’s a short overview of the contents of this post:
- How to install W3 Total Cache
- How to setup W3 Total Cache
- W3 Total Cache General Settings
- Page Cache Settings
- Minify Settings
- Browser Cache Settings
- Extensions: Additional Settings to Consider
- W3 Total Cache Plugin Troubleshooting
Note: As always when you install new WordPress plugins, make sure you backup your WordPress website before you install W3 Total Cache.
To backup your WordPress installation, check out my guide for backing up your WordPress website using a plugin.
1: How to Install W3 Total Cache
First, you should deactivate and delete any other caching plugin or solution you are using for your WordPress website. For instance, if you’re using the WP Super Cache plugin, make sure to get rid of it first.
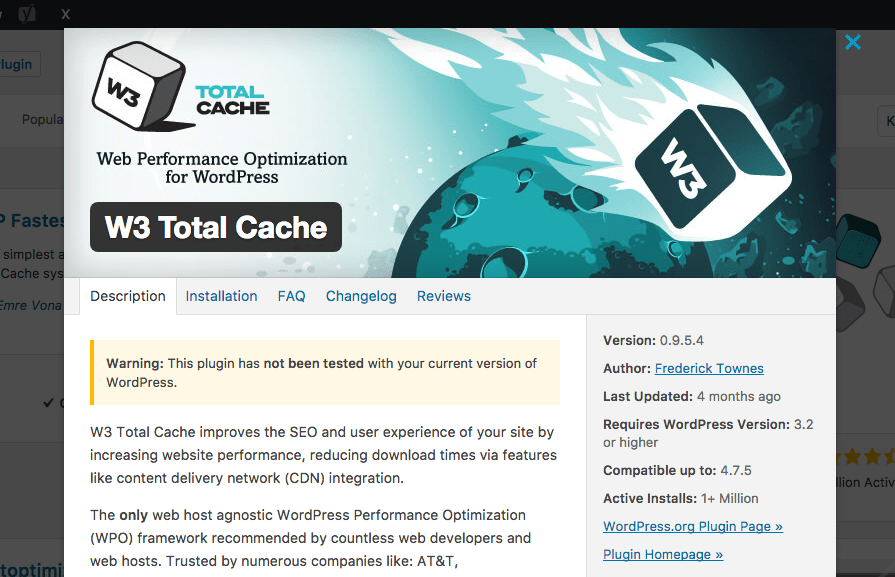
Next, head over to the Plugins section in your WordPress admin area and navigate to Add New. You will find the W3 Total Cache plugin by searching for it. Feel free to take a closer look at the plugin details to get a better idea of what it’s all about. When you’re done, simply click Install Now.
Once the installation process is through, click Activate to get the W3 Total Cache plugin running.
Alternatively, you can download the plugin directly from the WordPress plugin directory.
2: How to Setup W3 Total Cache
To be honest, setting everything up with the plugin may take some time, but it’s really worth your while. Additionally, once you’re done, you can actually use the same settings for any further WordPress websites you have. That way, it’s really easy to export the settings and import them to another website that uses the same plugin.
Please note that I will only discuss the settings where you should make changes. Therefore, not all subsections are listed in the following instructions.
That said, let’s get going!
Step #1: W3 Total Cache General Settings
First off, you need to define some general settings. These are the ones you will see when you activate the plugin and head over to the new Performance section of your WordPress admin area:
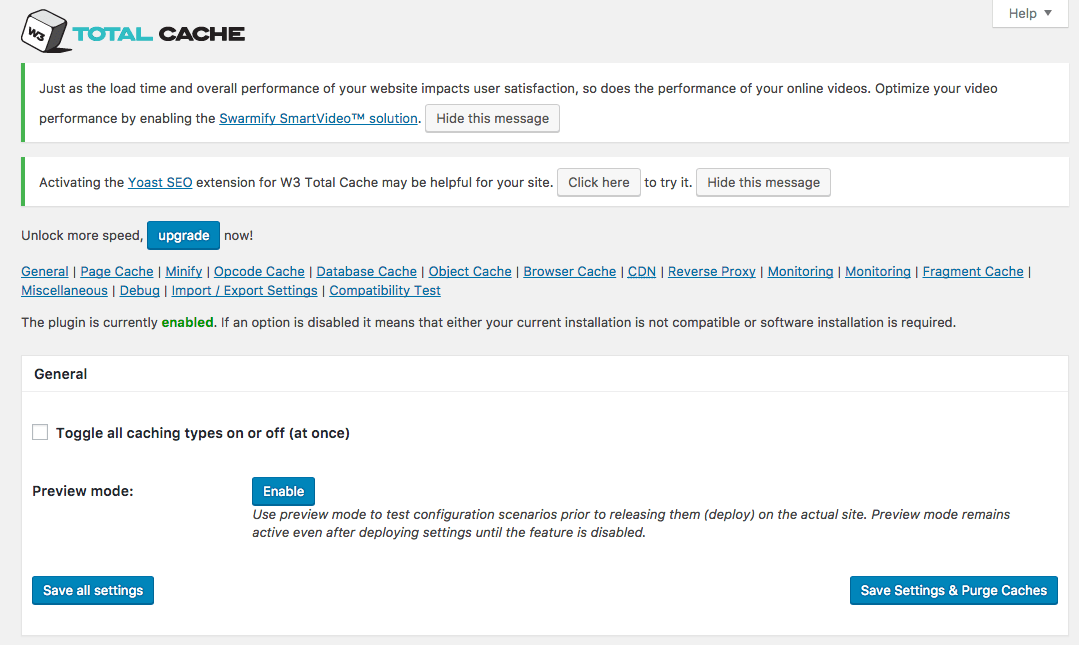
General:
Starting off, in the General section, leave the Preview mode disabled.
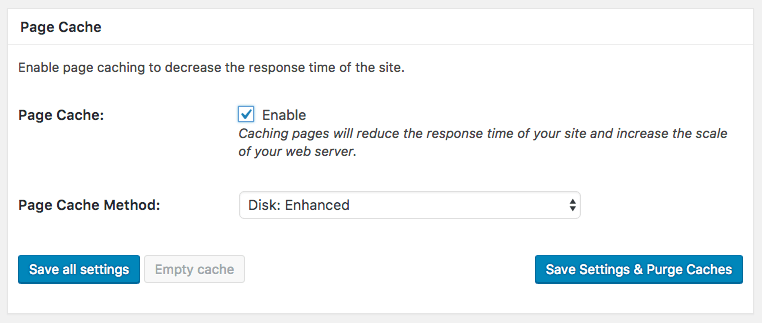
Page Cache:
Here, Enable Page Cache by ticking the box. Select Disk: Enhanced as the Page Cache Method. For Shared Hosting, you can only choose between Basic and Enhanced. Quite simply, the enhanced method is more effective than the basic one. However, should you experience any problems or errors while using the enhanced method, just switch back to basic.
Minify:
As a short intro: minification is the process where the file size of CSS or JavaScript files is reduced. Obviously, this is done to improve the user experience for your website visitors, as it speeds up the loading time of your website.
However, as the W3 Total Cache plugin says itself, minification requires some testing, since no two websites are identical. Therefore, it will be a trial and error process to find the optimal settings for your website.
The plugin suggests you start CSS minification using the auto mode first. If you experience any errors or problems, you should explore other options and perhaps start by checking whether your theme is a good match with the plugin.
Once CSS is minified, you can move on to JavaScript minification. Luckily, you can check your web browser’s error console in case you’re having problems making it work. There, you can easily see that the optimisation isn’t working. If you’re having trouble, you can try the Combine Only option. Moreover, if the problems and errors persist, there are probably bugs in the code of your theme or plugins you’re using – or both. Hence, these bugs can prevent the JS minification from working properly.
Thus, you can start off with these settings:
- Minify: Enable
- Minify Mode: Auto
- Minify Cache Method: Disk
- HTML minifier: Minify (default)
- JS minifier: JSMin (default)
- CSS minifier: CSS Tidy (switch to default settings if you’re experiencing problems)

However, please note that these settings will only work for WordPress websites that use shared hosting. Thus, if you’re using a dedicated or virtual hosting, you should use other settings.
Database Cache:
Here, check the Enable checkbox for Database Cache and set Database Cache Method to Disk.

In short, database caching will decrease the response time of your WordPress website. Again, use different settings if you’re not using shared hosting.
Object Cache:
Here, choose Enable for Object Cache and set the Object Cache Method to Disk:
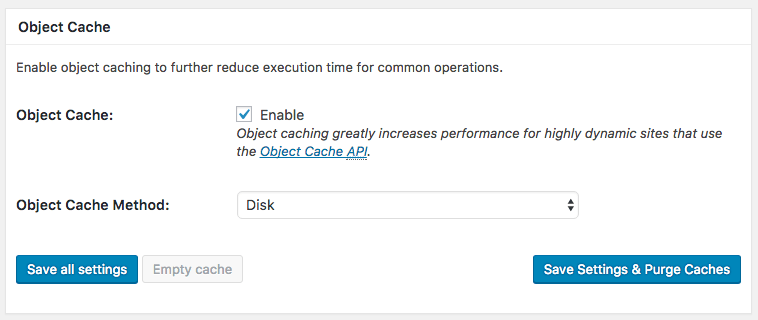
Here, too, you should pick different settings for private or virtual hosting.
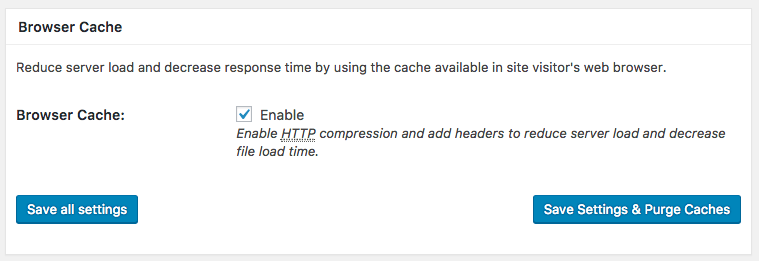
Browser Cache:
This one is easy: simply leave the Browser Cache setting Enabled.
CDN:
Your website can run smoothly simply by using a good caching plugin and a good hosting account that allows for enough traffic. Hence, you might not need a Content Delivery Network (CDN) unless your website gets a considerable number of visitors daily. Therefore, you can leave the CDN setting disabled.
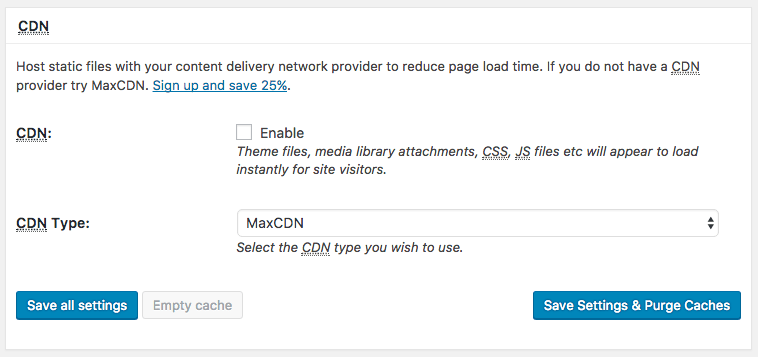
However, if you’re using a CDN for your website, check the box for Enable and choose your CDN Type from the dropdown menu.
Reverse Proxy:
Here, you should Enable reverse proxy caching via Varnish.
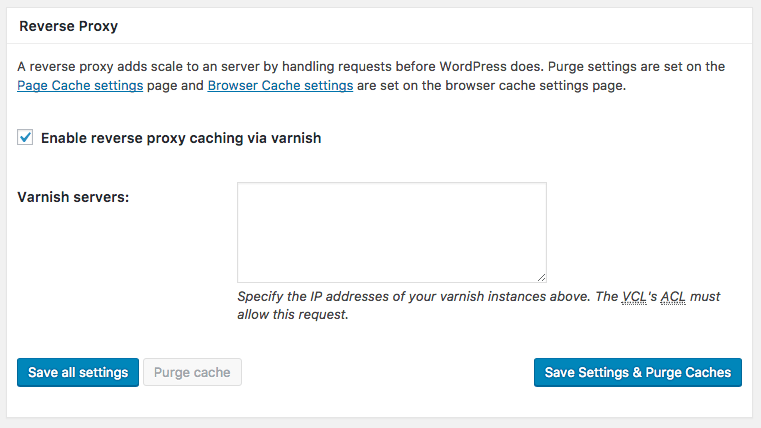
For more information, check out the website of the Varnish HTTP Cache. Additionally, there’s a good explanation about the Varnish software on Wikipedia.
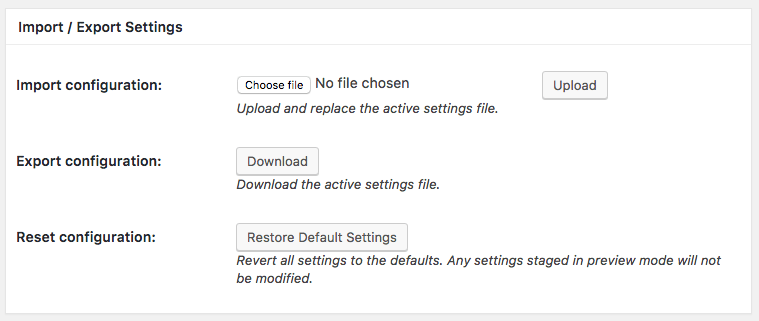
Import / Export Settings:
Are you running multiple websites that use WordPress? Great!
In that case, you can export the settings you make when you first install the W3 Total Cache plugin and use the same settings for another WordPress website.
Thus, once you’re done with this installation and all the settings here, you can export the plugin configuration by clicking Download. Subsequently, just install the W3 Total Cache plugin on your other WordPress website and under Import configuration, choose your settings file and hit Upload.
And that’s it, you’re done with the general settings! These alone will have a nice effect on the performance of your website. However, to reap all the benefits of the plugin after you install W3 Total Cache, you should take a look at the detailed settings, too.
Therefore, simply follow along!
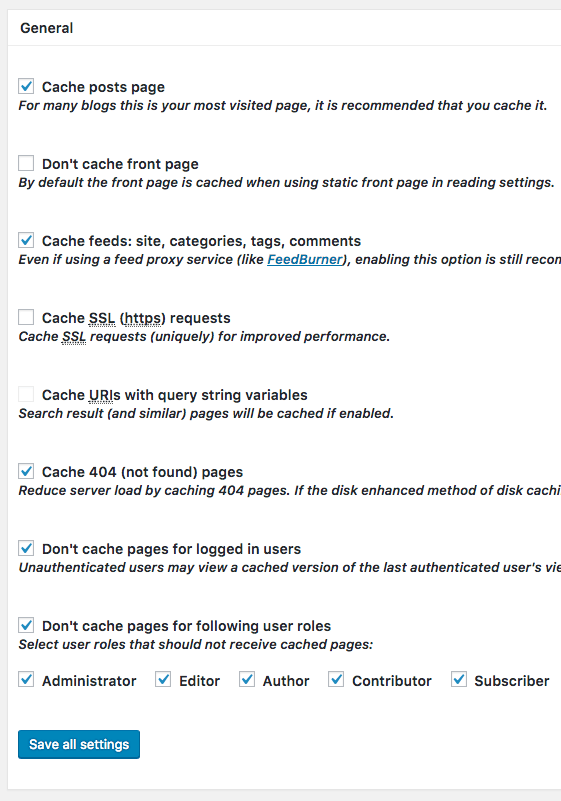
Step #2: Page Cache Settings
You will find these settings by going to Performance > Page Cache using the navigation bar on the left in your WordPress admin area.
General:
Here, make the following settings:
- Cache posts page: enable by checking the box
- Don’t cache front page: leave unchecked
- Cache feeds: check this box
- Cache SSL (https) requests: check if you’re using an SSL certificate
- Cache 404 (not found) pages: check this box
- Don’t cache pages for logged in users: check
- Don’t cache pages for following user roles: check this box and also, check all the user roles beneath it
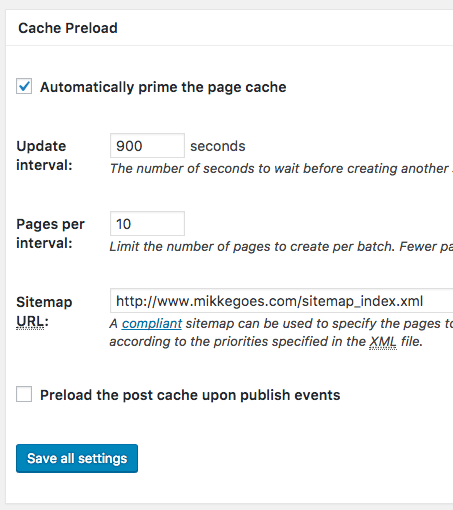
Cache Preload:
Next, check the box for Automatically prime the page cache. Moreover, enter the URL of your website’s sitemap.
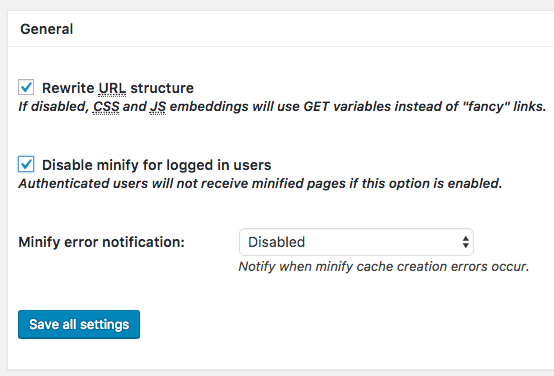
Step #3: Minify Settings
General:
Here, I’d do the following settings:
- Rewrite URL structure: check this box
- Disable minify for logged in users: check this box, too
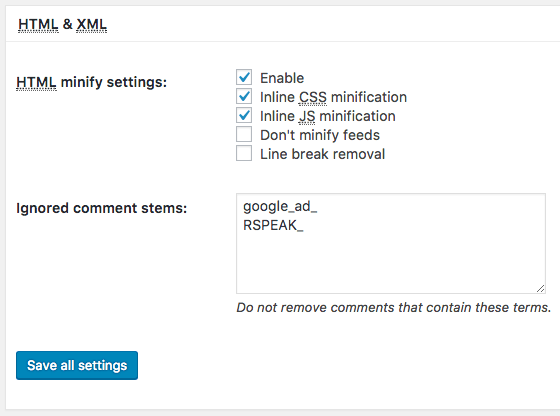
HTML & XML:
Here, check the following boxes:
- Enable
- Inline CSS minification
- Inline JS minification
Step #4: Browser Cache Settings
General:
Here, you should check the first six boxes:
- Set Last-Modified header
- Set expires header
- Set cache control header
- Set entity tag (ETag)
- Set W3 Total Cache header
- Enable HTTP (gzip) compression

You know what? You’re done!
Finally, make sure you have saved all changes and everything is looking OK.
3: Extensions – Additional Settings to Consider
The W3 Total Cache plugin also has settings for a number of specific tools you may be using. Therefore, you should check the following extensions under Performance > Extensions and activate the ones you need:
- AMP
- CloudFlare
- Google Feedburner
- Fragment Cache
- Genesis Framework by StudioPress
- New Relic
- Swarmify
- Yoast SEO
- WPML
I’d guess many of us are using Yoast SEO. Thus, make sure you activate the extension if you’re using Yoast SEO on your WordPress website. If that’s not the case, you might want to read my post about using Yoast SEO for WordPress SEO!
4: W3 Total Cache Plugin Troubleshooting
In case you’re experiencing any errors or problems while installing and setting up the W3 Total Cache plugin, check out their support forum.
Luckily, for any error you might encounter, someone has most probably already solved it. Thus, the threads and discussions in this forum are worth browsing through if you hit a brick wall at some point.
Final Thoughts: Install W3 Total Cache Plugin
Even if you’re new to WordPress, you can speed up your website in just a few steps and install W3 Total Cache right away.
Page speed is gaining in importance as more users browse the Web with mobile devices. Thus, now is the perfect time to take advantage of the tools available for WordPress and setup a caching plugin to help you visitors have a smooth user experience.
Have you used W3 Total Cache or other caching plugins for WordPress? Drop me a line in the comments section!
Here are a few related posts you might want to read:
- How to Use the Yoast SEO Plugin for WordPress
- Introduction to Search Engine Optimization: What is SEO?
If you found this post on how to install W3 Total Cache for WordPress, just drop me a line in the comments below!
P.S. If you liked this article, please share it with others! Thanks for your support!
I’ll see you in the next article! Happy coding!
– Mikke

Great tips. this post is very useful for the beginners to optimixe and speed up the website
Thanks so much, glad to hear you found the post helpful!
hey
I have already installed this theme but its creating high backup or log files. How to stop making log files