
Creating and launching your own first website from scratch may sound overwhelming and scary. Yet, if you want your share of the growing job market and the lucrative web developer salaries, you need to learn how to build a website from scratch to get started.
But where should you start? What tools and skills do you need? Where can you learn how to create a website from scratch with no experience?
Here’s the thing: Building your first own website doesn’t have to be difficult.
Although you need to learn a few essential tools to get your website online, anyone can do it. If you know how to use a computer, you’re all set.
The best way to go about building a website is to strip the project into smaller pieces. With a few clear milestones, you can easily track your progress and avoid feeling confused.
Nevertheless, the most difficult part is to take the first step. To help you know exactly where to start, I’ll walk you through how to build a website from scratch in this post.
Let’s go!
Related articles you may want to read:
- How to Create a Portfolio Site on WordPress Step-by-Step
- What Is the Best Way to Start Learning Coding and Web Development?
- Which Programming Language Should I Learn First? Beginner’s Guide
Please note: This post contains affiliate links to products I use and recommend. I may receive a small commission if you purchase through one of my links, at no additional cost to you. Thank you for your support!
How to create a website from scratch: Beginner’s guide
Let’s start with the basics here:
What does it mean to build a website from scratch?
First of all, it means that you’ll write and create all the necessary files with code yourself.
If you’re new to web development, don’t worry. Even though you’ll need to learn a handful of tools to build a full-scale website, you’ll see results fast.
In short, you need two things to build a website:
- Files with the content, styling, and other elements for your website
- Web server to store those files on and to make them publicly accessible
That’s all it takes, really. Even if you’ve never built a website before, this guide will help you understand how everything works. We’ll start with the basics and look at one tool at a time.
Bear in mind that this post will show you how to build a very basic website from scratch.
We’ll look at the most fundamental tools you need to learn to become a front-end web developer.
Thus, I won’t cover back-end programming languages that you need if you want to build a web application.
Glad we got that out of the way.
Now, what skills and tools do you need to start creating your own website? Let’s take a look.
What should you know before building a website?
Although creating a website may sound intimidating, it doesn’t have to be complicated.
There are really no prerequisites or requirements. All you need is a bunch of motivation and something to keep you focused.
For instance, if you want to build a web developer portfolio website, you need it to get your first full-time job.
Or if you want to start a web development business, you need to build a website where you showcase your services.
Related: How to Make Money Coding? 12 Top Ways to Earn Money as a Developer
Oh and one more thing: You will need a good amount of patience. Learning new things means you will run into questions and problems along the way. But the good thing about them is that there’s always a solution to be found.
Thus, don’t hurry with it. Take your time and try to keep patient when things don’t go the way you planned.
How long will it take?
Building your first website will take some time and that’s perfectly OK.
Depending on your schedule, you may finish your project in 1–4 weeks. If you have a busy schedule, it may take you 6 months.
All that matters is that you’re here and you’re getting started. Kudos to you!
What tools do you need to create a website from scratch?
Obviously, you will need a computer with an internet connection. But since you’re already reading this, I assume you’re all set.
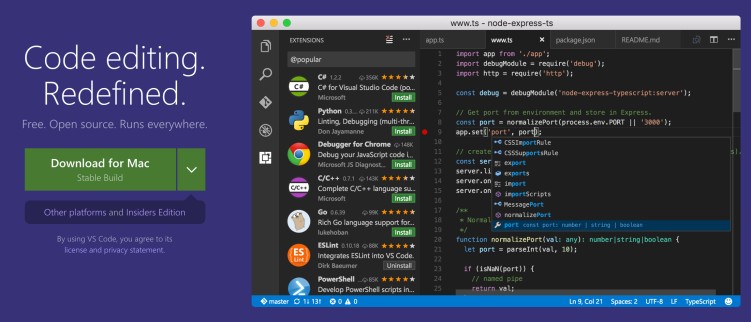
1: Code editor
As for software, the most important tool you need to build a website from scratch is a code editor. That is where you’ll write your code for your website files.
A code editor is simply a program that allows you to write, read, and save code files.
For example, any HTML files you create for your website will have a file extension .html. When you open them in your web browser, you can see what you’ve created.
Make sure you choose a code editor that you enjoy working with. After all, you will spend quite some time with it.
I use both Sublime Text and VS Code for most of my projects. They’re just so easy to set up and get comfy with.
For more alternatives, check out my previous article with the best code editors for developers.
2: Web browser
Additionally, you need a web browser of your choice. I’d recommend going with Google Chrome or Mozilla Firefox, but the choice is yours.
3: Graphic editor
You also need a photo editor to create and edit your images and graphics.
If you’re just getting started, use a free photo editor that’s easy to set up and learn, such as:
- GIMP:
The best Photoshop alternative out there. Tons of features, so it will take a while to get used to. - Canva:
My favorite browser-based editor for creating custom graphics quickly and easily. You can access your account and files on any device, so it’s great if you’re on the go a lot.
Make sure you check out these useful workflow tools for a complete reference.
How to build a website step-by-step in 2024
Let’s look at the individual steps you need to take to learn how to build a website from scratch:
- How to buy and register a domain name
- How to sign up for web hosting
- How to create content with HTML
- How to style and design with CSS
- How to add interactivity with JavaScript
- How to get your website online
Although this list might seem a tad overwhelming and technical at first, don’t worry. We’ll go through each step in more detail below.
Also, I’ll point out some of my favorite resources for learning how to clear each step one by one.
And as I mentioned above, it’s perfectly OK to take your time with each step. You have a lot on your plate here, so make sure you save this article for later reference.
If you’re not sure how to proceed at some point, just drop me a line in the comments section and I’ll help you out 🙂
Let’s dive right in!
Step 1: Buy and register a domain name
The very first thing you need to build a website is a domain name.
But what is a domain exactly? Let’s take a moment to cover the basics.
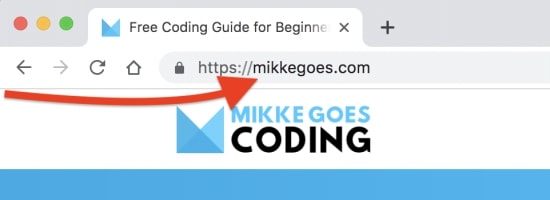
A domain name is simply an address for your website. Just like your house in real life has an address, so will your website. It’s a way of locating and finding your website on the World Wide Web.
For example, mikkegoes.com is my domain name for this blog. (And yes, you’re very welcome to use as often as you like to find your way back to my blog.)
What to keep in mind when registering a domain name
Needless to say, you should keep a few things in mind when choosing a domain name.
- Make sure it’s easy to write and remember. If you’re building a portfolio website for your projects, try to use your name, for example. Of course, if your name happens to be particularly long or difficult to write, consider an alternative.
- Try to go for a .com domain name if you can. It may be difficult to find one that’s available, but it’s worth a try.
- Don’t register anything that’s even close to registered trademarks or brands.
- Make sure your domain name doesn’t read anything you don’t want to convey. For example, if your website is called ‘Computers Exchange’, it could read www.ComputerSexChange.com. Not cool.
- Use your own if it makes sense. If you’re building a web developer portfolio, for example, why not use your own name?
To help you get your creative juices flowing, here’s a helpful post for finding the perfect website or blog name.
Where can I register and buy a domain?
There are tons of domain name registrars you can choose from.
The easiest option is to register your domain with your web hosting provider. It’s just a real time-saver to have everything under one roof. But again, the choice is yours.
That said, let’s see what web hosting is all about next.
Step 2: Sign up for web hosting
When you’ve chosen a catchy domain name, it’s time to move on to web hosting.
In short, web hosting companies rent out web server space you can use to store your website files on.
Your web hosting provider makes your website accessible to anyone using the WWW.
Read also: How Does the Internet Work Exactly?
What to look for in a web hosting provider?
Again, you can choose from hundreds of options out there. To make things as easy as possible, you want to look for a few key factors:
- Ease of use:
If you’re building your first website, you don’t want to choose a web hosting provider with a difficult user interface. - Speed:
Page loading speed is so important these days. Check their page speed load ratings before you sign up. - Uptime performance:
What is their uptime like? You don’t want to your website to be offline because of a poor technical setup. - Support availability:
Are they available 24/7? Can you contact them in your language? What means of support do they offer?
Additionally, you want to make sure your web hosting provider supports the tools and languages you’re using. For example, if you’re coding a web application using Python, their servers need to be able to execute Python code.
Related: 21 Best Resources to Learn Python Fast for Beginners
Which web hosting provider do I recommend?
As with all the tools and resources you’re using, you’re free to choose a web hosting provider you feel good about.
I recommend Bluehost, since I’ve had the best overall experience with them in the past years.
Their setup is easy and they’ve always been quick to help me with any questions.
Also, you get a free domain name for the first 12 months with your hosting package.
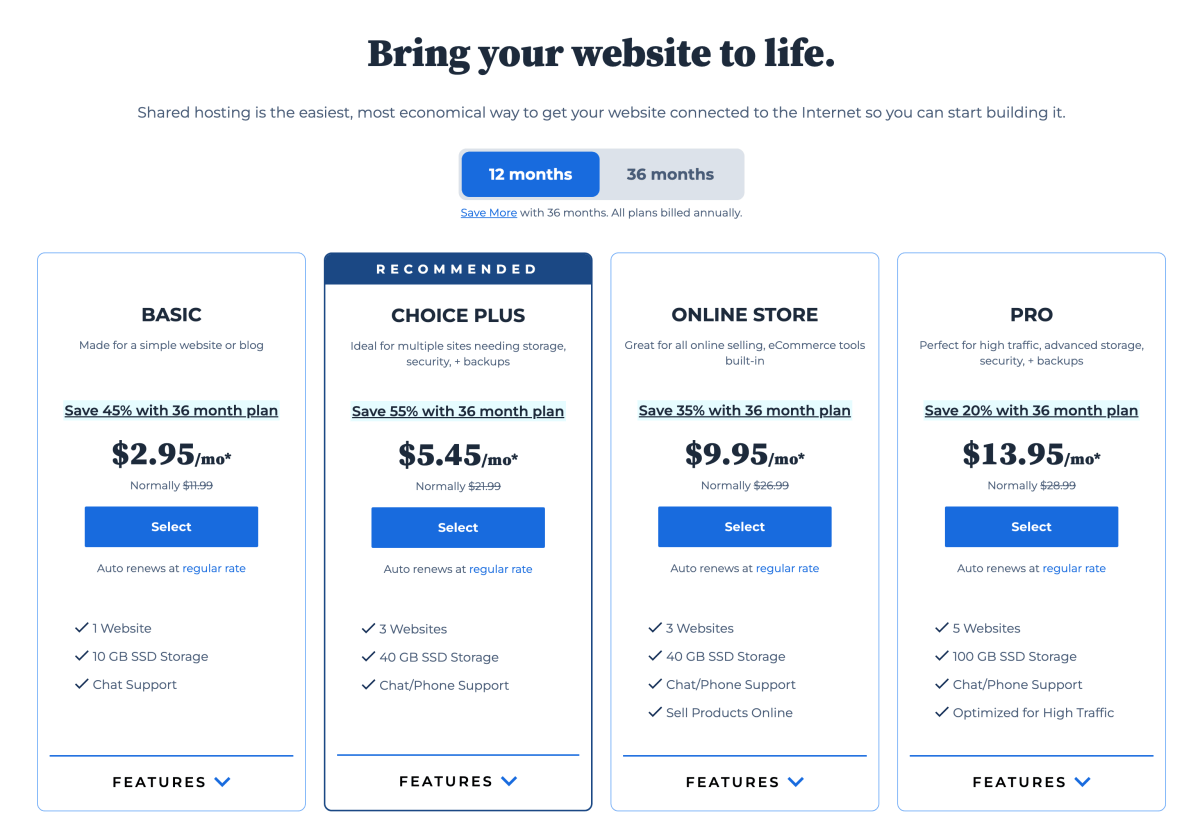
To help you save a few bucks, I’ve negotiated an exclusive hosting deal with Bluehost starting at just $2.95 per month.
Yep, that’s less than a coffee at Starbucks.
You can get started with the Basic plan, and upgrade to a higher-tier plan in the future if needed:
When you’ve got your domain name and web hosting sorted out, it’s time to start creating the files for your website!
Step 3: Create content with HTML
Most websites you use daily are web applications rather than static websites. Web apps allow visitors to sign up and create a user profile. Hence, they store your data for later use.
Of course, web apps are often large-scale projects with entire teams of developers and designers working together.
What we’ll focus on in this post is something more basic, but still very useful.
At the end of this post, you should have a clear guideline to learn how to build a website consisting of three major parts:
- Content and structure
- Styling and design
- Dynamic and interactivity
Let’s start with the first point: Content and structure. This is what we need our first tool for: HTML or HyperText Markup Language.
What is HTML?
The first thing your website needs is structured content to display to your visitors. And by this I simply mean:
- Headings and paragraphs
- Lists and tables
- Images and other media etc.
These types of contents are created using a language called HTML. It’s not a programming language unlike a lot of people seem to think. HTML is simply a markup tool for building the structure for your web page.
You can use HTML to create a clear structure and the actual content on your web page.
For instance, you’ll use HTML to separate the menu bar from the actual contents of your web page.
Also, you can divide the content area into different sections, like I’ve done here with the main text area and the sidebar you see on the right (or at the bottom of the page if you’re using a mobile device).
For a more thorough intro to HTML, check out my previous post: Getting Started With HTML for Beginners.
Where to learn HTML for beginners?
The good news with HTML is that it’s very easy and fast to learn. You can learn HTML basics in a matter of hours and start practising on small web pages of your own.
And as with any web development tool, practice makes perfect, so don’t hesitate to put your skills to the test as soon as you can!
Here are a few of my favorite online courses and tutorials for learning HTML for beginners:
- Codecademy:
Start with the free content to see how HTML works and if you like working with it. If you’re ready to invest in a long-term commitment, check out their Pro plans to unlock more learning content. - The Complete Web Developer Course 2.0:
I used this course on Udemy a few years ago to learn pretty much everything I needed to become a freelance web developer. Great for getting familiar with HTML and a huge selection of other essential tools.
When you’ve created enough content with HTML, it’s time to move on to CSS next.
Step 4: Style and design with CSS
With a good understanding of HTML fundamentals under your belt, it’s time to learn some CSS or Cascading Style Sheets.
And that’s what CSS is all about, styling your HTML content to make it more appealing and easy to read.
Just like HTML, CSS is also quite easy to pick up. You don’t need any prior experience in coding or web development to start learning CSS.
And since it works hand-in-hand with HTML, it’s a good idea to learn them both simultaneously.
What is CSS exactly?
When it comes to building a website from scratch, HTML can only get you so far. I mean, yes, you use it to create the actual content for your website, but you can’t do much with HTML to make it look great.
Here’s what a pure HTML web page could look like:
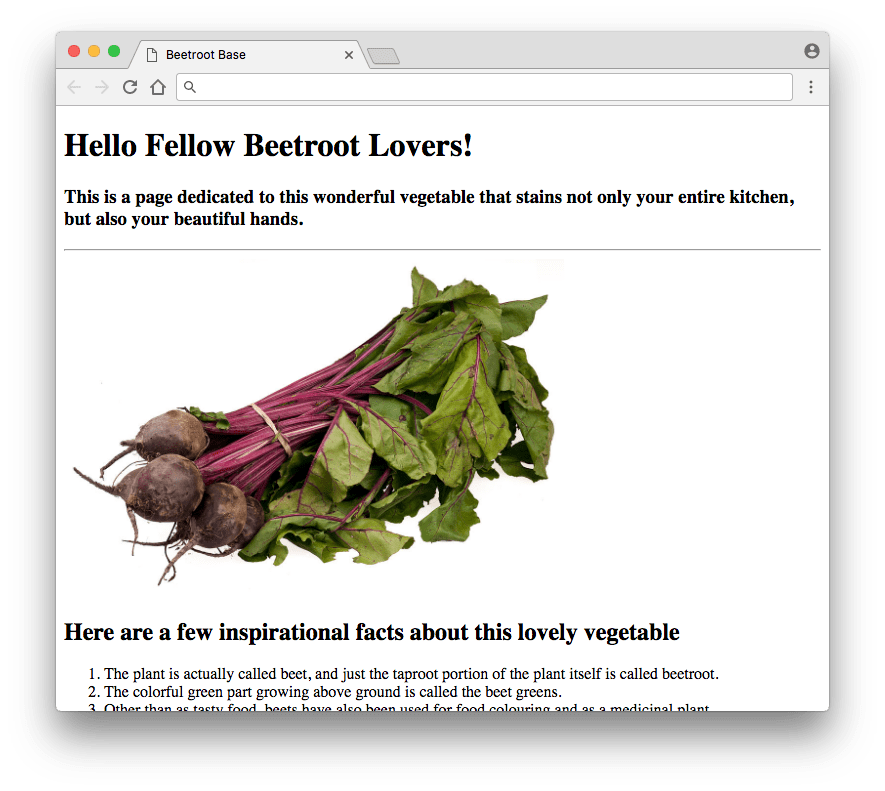
Uhhhm, I think we can do better than that…
That’s where CSS steps into the game.
You can use CSS to select and style individual HTML elements on your web page to your heart’s content.
What can you style with CSS?
So what exactly can you style and design with CSS?
Virtually anything. Whatever content you’ve created with HTML, you can select and adjust the aspect of any element or section on your page, like:
- Colors
- Fonts
- Decorations
- Positioning
- Spacing, padding, border, etc.
And the best part is: your CSS is separate from your HTML contents. Thus, you can adjust and readjust your CSS without touching the actual structure or content of your website.
In other words: using HTML and CSS together helps you keep the contents and the styling of your web page separate.
Hence, with your HTML content in place, you can experiment with CSS as much as you like without having to worry about breaking or deleting anything.
Recommended: How to Learn CSS Basics Fast: Beginner’s Guide
Where to learn CSS for beginners?
As with any web development tool out there, the best way to learn CSS is to build meaningful projects of your own.
Even if you’re just starting out and you only know a few basic CSS rules, try them out by yourself.
When you finish a video lecture in an online course, simply apply what you just learned to something you’re building on your own.
Ready to start learning? Great!
To make things easier for you, here are two awesome beginner-level resources to learn CSS online. I used them back in the day when I decided to become a full-time web dev freelancer.
- FreeCodeCamp:
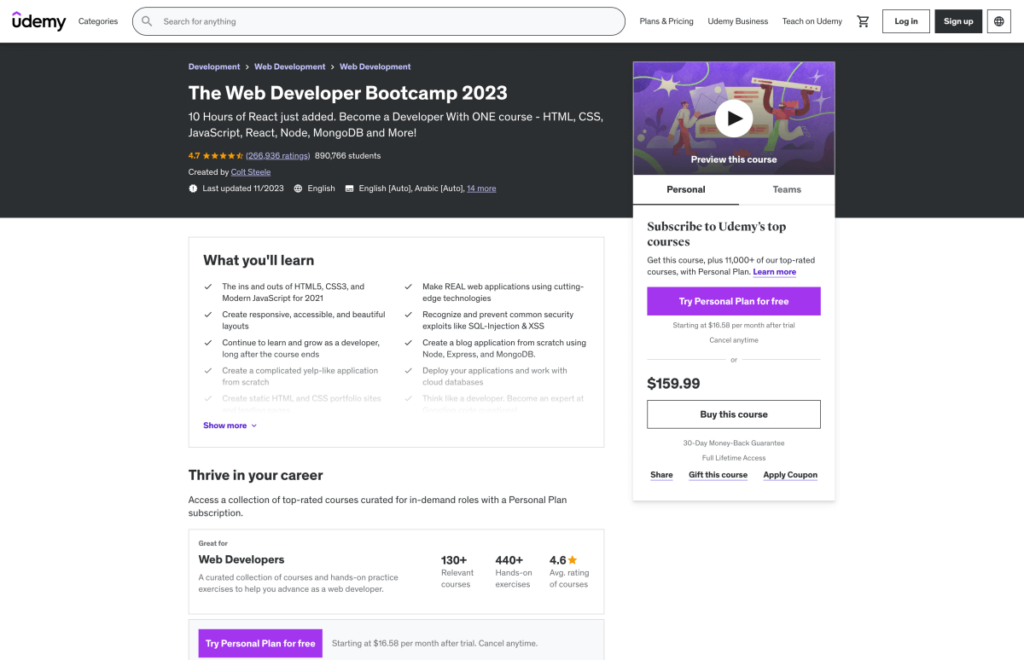
One of my favorite, 100% free resources for learning web dev from scratch. Great for not just CSS, but also other front-end web development tools you should know. - The Web Developer Bootcamp:
This insanely vast Udemy course will teach you pretty much everything you should know about web development. The CSS module is perfect for beginners–a great place to start your web dev learning path.
Again, remember to practice a lot. You don’t need to build a full-on web page with every video lecture. Just have an HTML file with a few elements that you can practice your CSS skills on.
Trust me, you can spend hours and days trying out different CSS rules and tricks on just a handful of HTML content. It never gets boring!
Recommended: The Best HTML and CSS Courses for Beginners
When you feel comfortable working with HTML and CSS, it’s time to move on to the final tool you’ll need to build a website from scratch. Let’s take a look!
Step 5: Add interactivity with JavaScript
So far, your web page has HTML content and you’ve styled it with some CSS. Good job!
The next step is to make your website more interactive. After all, your HTML/CSS web page is very static and it doesn’t really allow for much interaction with its users.
Hence, you want your visitors to find their way around easily and maybe add a few dynamic touches, too. This will make your website even more beautiful to look at while also boosting the overall user experience.
For this, you need to learn a programming language called JavaScript. It’s one of the most popular and widely-used languages on the WWW these days.
Related: What Is The Best Programming Language for Web Development?
What is JavaScript?
Apart from HTML and CSS, which are markup languages, JavaScript is a more powerful and versatile tool. The three work together seamlessly, but JS is very different from the two.
Since JavaScript is an object-oriented, “proper” programming language, its syntax is very different from HTML and CSS. It’s more focused on actual programming with logic, using elements like variables, arrays, functions, etc.
Thus, if JavaScript is your first programming language to learn, make sure you take it nice and easy. Take your time to learn and understand the fundamentals of programming as you go.
For the days when things don’t go the way you planned, check out my post on how computer science basics can help you learn to code faster.
What JavaScript can do for you?
When you start learning Javascript from scratch, you’ll start seeing JS applications everywhere on the Web. Ranging from interactive maps to beautiful animations, JavaScript is literally everywhere.
Here are a few practical examples of what JavaScript can do for you:
- Build web applications and browser-based games
- Access and process information on the WW, e.g. find out what’s trending on Twitter
- Make websites behave dynamically and respond to user interaction
- Compute and visualize data in dashboards and spreadsheets
Needless to say, learning JavaScript also takes more time than learning HTML or CSS. But once you get the hang of the basics, it’s easy to start using it on small projects of your own.
Just keep learning one thing at a time, applying everything you learn to your own web pages.
Recommended: What Is JavaScript and How to Learn It Fast?
Where to learn JavaScript?
The biggest challenge with learning JavaScript from scratch is the abundance of learning resources out there. It’s difficult to know where to start because there are hundreds of courses and tutorials to choose from.
Ideally, you want to find a course where you learn all three basic web dev tools together: HTML, CSS, and JavaScript. This will help you understand the bigger picture and learn how the tools work together.
Later on, when you feel more confident with you JavaScript skills, you can choose a more in-depth course to learn more advanced JS topics.
To start off with, here are a few of my favorite resources for learning JavaScript fundamentals:
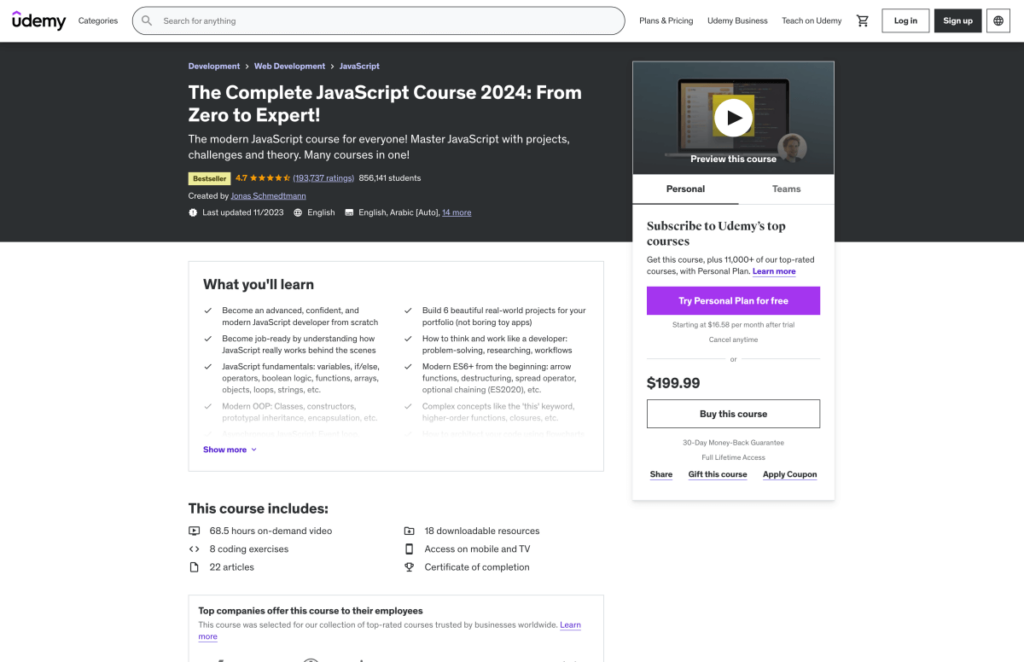
- The Complete JavaScript Course:
Another great beginner-level course on Udemy. The 850,000+ students can’t be wrong – this course is packed with top-notch content. - Codecademy:
Again, use their free tutorials for learning the basics. Then, if you feel like Codecademy suits your long-term goals, you can consider investing in their Pro plan. That will unlock more learning content and practical projects for additional practice. - Beginner Javascript Track (Team Treehouse):
Want to learn everything you need to know about JavaScript in one place? This complete learning track will teach you programming basics together with JavaScript and jQuery.
And hey, I have some great news for you at this point:
JavaScript is the final essential tool you need to build a website from scratch. If you’re a complete beginner, make sure to check out these fun JavaScript project ideas to practice your skills easily.
Thus, when you feel confident and comfortable with HTML, CSS, and JS, it’s time to get your website online.
Related: The Best JavaScript and jQuery Course for Beginners
Step 6: Get your website online
Ok, now you have your HTML content that’s styled to look more user-friendly and beautiful with CSS. You’ve also added some dynamic elements and interactivity with JavaScript.
Until now, you’ve been working locally on your laptop or computer, using code editors and your web browser to test your code.
Now, it’s finally time to put your beautiful website online for the world to see!
In other words, you’ll need your web hosting plan and your domain name to get this done.
As we discussed above, you’re renting space on their web server to make your web page files accessible to anyone with an internet connection.
Putting your website on a web server
Although web hosting may seem intimidating if this is your first website project, don’t worry. The tools you need to use are pretty straightforward.
You simply need a way to upload your website files to a web server with your hosting provider.
When you sign up for web hosting, you’ll receive credentials for using an FTP (File Transfer Protocol) connection.
FTP allows you to upload your HTML, CSS, and JavaScript files directly from your computer.
How to upload your website files using FTP
The first thing you need for using FTP are your login credentials from your web hosting provider. If you can’t find them, get in touch with your provider directly for more details.
Second, you’ll need an FTP software on your computer. Basically, it will be the interface you use to drag and drop files from your computer to your web space.
I often use FileZilla, but there are a few other beginner-friendly FTP programs you can choose from, like Cyberduck.
All FTP programs have a similar, two-column interface. On one side, you’ll see the files on your computer. On the other, you’ll see all the files on your web server.
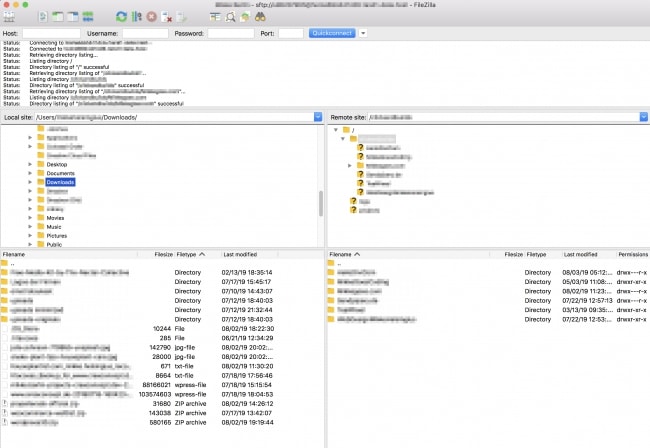
When you’ve established a connection to your hosting provider, you can simply drag and drop files in both directions:
- Upload files by dragging them from the left-hand side to the right.
- Download files from your web server by dragging them from right to left.
Depending on the settings in your web hosting account, your domain name is linked to a specific folder on the web server.
To make your website accessible under your domain name, you need to upload your files to that specific folder. Most often, the folder is called “public_html”.
(Again, if you’re not sure, check with your hosting provider.)
And voila! Once your files are uploaded, you can access your website by typing your domain into the URL bar of your web browser.
Final thoughts: How to build a website from scratch
Needless to say, there are tons of other web development tools to add new features and functionalities to your website.
But this post should give you a good overview of the very basics of how to build a website from scratch.
With just a basic understanding of HTML, you can upload your first website files to your web space and access them via your domain name URL.
If that’s all you need, then you’re all set. Congrats!
However, adding CSS and JavaScript will make your website much more interesting.
And if you want to become a front-end web developer, those three languages will be the backbone of your skillset.
Thus, if you want to learn how to build a website from scratch, use the resources above to get started.
If you have a clear idea about what your website is about and how it should look, you’re already on the right track.
For even more great resources, check out these easy-to-follow beginner’s courses for learning web development from scratch!
Now go build your first website and share it with the world! Don’t forget to share the link in the comments below!
Here are a few helpful articles you may want to read, too:
If you found this post to learn how to build a website from scratch helpful, just drop me a line in the comments below! I’d love to hear how you’re getting along! Let me know if there’s anything I can support you with.
P.S. Share this post with others! Thanks!
Happy coding!
– Mikke

Kudos on such a comprehensive guide! It’s given me the confidence to start my website-building journey. Looking forward to more content from you!
I am following you from Egypt. Your explanation is so easy. Thank you.
Hi Omar,
greetings to Egypt! I’m so happy to hear that you found my guide on how to build a website from scratch helpful 🙂
I love the way you explain things. It makes it easy to follow and understand. I enjoyed reading your blog.
Hi Stephanie,
thank you so much for your lovely words! I am super happy to hear that you’ve found a few helpful tips and pointers on my blog 🙂
Let me know if you have any questions at all – I’m more than happy to help!
Cheers,
Mikke