
Now that you are familiar with how the Internet works, it’s time to look at a few essential coding tools and software you can use for learning and building your projects.
In this part of our Free Coding Guide, we will look at a few workflow tools that help you finish your projects faster and more easily.
Let’s jump right in!
Free Guide: Contents
- What is coding?
- Intro to programming languages
- Front-end and backend
- How does the Internet work?
- Useful tools for coding
- Computer Science fundamentals
Please note: This post contains affiliate links to products I use and recommend. I may receive a small commission if you purchase through one of my links, at no additional cost to you. Thank you for your support!
Top Workflow Tools for Coding and Web Development
If you want to learn to code and become a web developer or web designer, you need to learn to use a few tools that are essential for building projects for your portfolio and for your clients.
Thus, these workflow tools are both (1) insanely helpful and (2) downright essential for your work.
To help you get started with the right tools and resources, this short guide will shed some light on what tools you need to master when you are learning coding and web development.
If you are just beginning with coding, I recommend going for the free version of each tool below. Later on, you can upgrade to a paid version for more features and better support.
Basically, your toolkit will consist of the following programs and tools:
- Text editor for writing code
- Photo editor for managing your images
- Command-Line Interface (CLI) for interacting with your operating system
- Domains and hosting plans for deploying your projects
- FTP client for transferring your files
- Web browser for development and testing
- Version control tools: Git and GitHub
For even more recommended tools for beginners, check out my Resources page.
1: Text editor for writing code
Text editors are programs where you write all your programming language code and save your files with an appropriate file extension, like .html for files containing HTML markup, or .css for files written in CSS, for instance.
These files are then executed appropriately to run your code or your program.
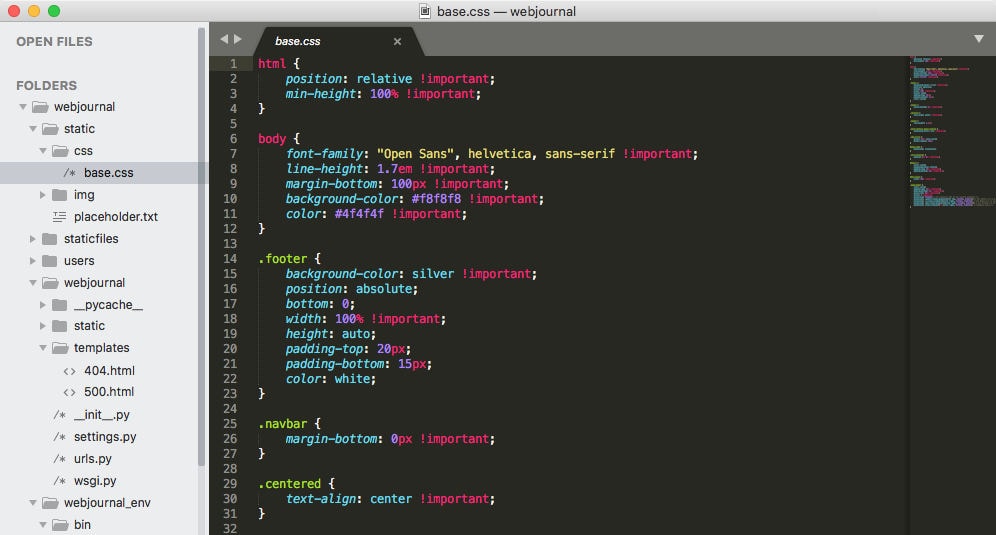
A good text editor is probably one of the most important tools you’ll need for writing code. Therefore, you want to find one that suits your needs and feels easy to use.
You can use a basic text editor like Notepad on Windows or TextEdit on Mac, too. However, these don’t offer any additional, helpful functionalities for writing code. They don’t highlight your syntax or point out the spots where you might have forgotten to add a final semicolon or a closing tag for an HTML element.
So why not simply use MS Word or Google Docs for writing your code files then?
Text processing tools like that don’t output “clean” code. Files written in MS Word, for example, contain different formatting rules. That’s why they aren’t suitable for this purpose.
You will find a list of text editors I recommend on the Resources page.
For more information on text editors, check out my blog post about how to find the best text editor for coding.
2: Photo editors
Depending on how much you wish to focus on design and graphics, a photo editor is a must-have. You should know how to manage, edit, and resize images so that they will look awesome on your website and in your other coding projects.
Luckily, you will have plenty of great software to choose from. Here are a few worth considering:
Canva
Canva is a free browser-based graphics editor you can use to create and edit different graphics and photos for your website projects.
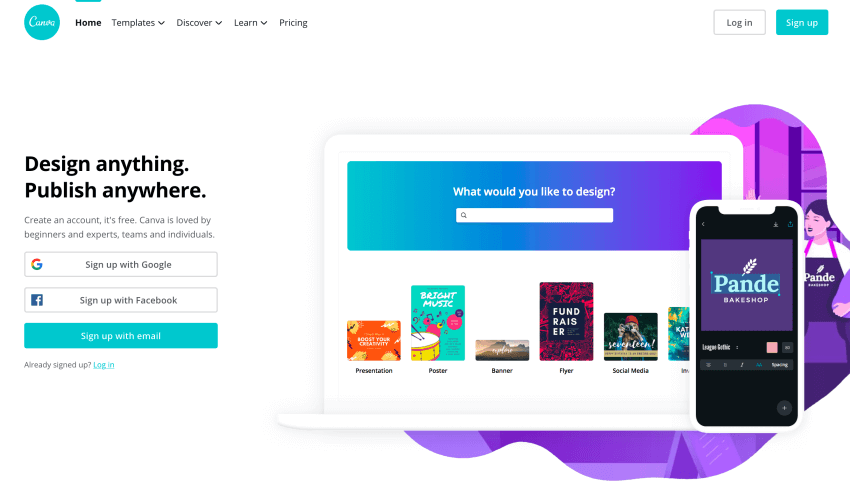
What’s great about Canva is that you can quickly create suitable graphics and images for:
- Social media posts
- Blog posts
- Website banners
- Sliders
- and much more
You can easily spice up your graphics using the built-in selections of stock photos, images, icons, and other elements. And although Canva is easy to use, it has tons of great, powerful features you will love.
Pixlr
Pixlr is a free online image editor with sufficient tools to get you started with. It’s a very simple, web-based application, so you don’t need to install anything on your computer.
Pixlr has enough functions and features to get started with editing and managing your graphics. If you feel like it’s not enough, have a look at the other tools below.
Adobe Photoshop
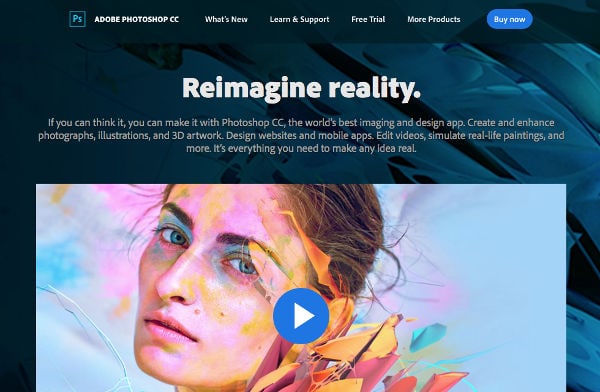
Photoshop is the mother of all photo editors. However, the software comes with quite a heavy price tag with a monthly subscription at Adobe’s Creative Cloud.
If you are using other Adobe software already, simply add Photoshop to your monthly subscription plan.
GIMP
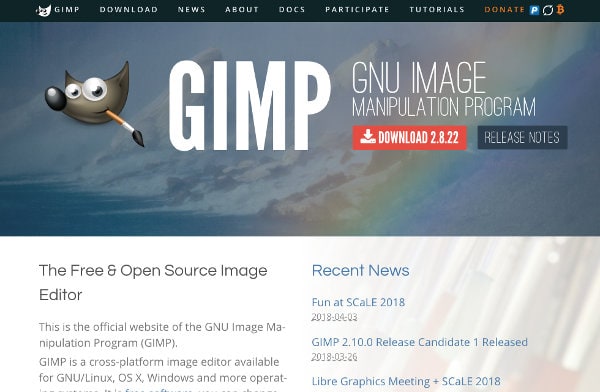
GIMP or GNU Image Manipulation Program is a great alternative to Photoshop. It is open-source and free to use and it comes with a huge selection of different functionalities and tools.
And the good news is: you will find lots of free online tutorials for learning how to use GIMP. I’ve been using GIMP myself for quite some time now and I can fully recommend giving it a try.
Affinity Photo
Affinity Photo is a great professional photo editor that has everything you’ll need for editing and managing your images. Affinity Photo is built much like Photoshop, so shifting from Adobe’s Creative Cloud to Affinity Photo shouldn’t be a problem, either.
3: Command-Line Interface
The CLI is a simple but powerful user interface for accessing a computer’s operating system on much deeper level than using your desktop.
The CLI has several names, so you might also know it as
- Terminal
- Command Prompt or
- The Shell
You can think of the CLI as a program or application that allows you to communicate and interact with your computer by simply typing in commands. Thus, it give you greater access to the parts of your computer that you can’t see.
Contrary to the Graphical User Interface (GUI) of your computer, the CLI is purely based on text commands.
Even though a web designer doesn’t necessarily need to master the CLI or use it very often, it’s good to know at least the basics of it.
If you’re new to Command-Line Interface, don’t worry! Here are my recommendations for online courses and resources you can use to learn the basics:
- Treehouse – Console Foundations: This course teaches you all the basics of the CLI, like managing files and users, running and controlling processes, and installing and configuring software via the CLI. If you’re new to Treehouse, get your FREE 7-day trial to unlock all other courses on the platform, too.
- Tutsplus: The Command Line for Web Design Intro
- Arch Linux – Command-line shell
Happy learning!
4: Domains and web hosting: Bluehost
Bluehost is the best provider you can choose for hosting your website or WordPress blog.
As if their pricing wasn’t already lucrative enough, you will even get a free domain name for your website AND a free SSL certificate to protect you and your website visitors – and to boost your rankings on Google.

The best part is that choosing Bluehost is 100% risk-free. They give you a full 30-day money-back guarantee, no questions asked.
Price: from $7.95 per month $2.95 per month
To get your website setup the right way from the beginning, check out this step-by-step tutorial on how to setup your hosting with Bluehost in 10 minutes (opens in a new window).
5: File Transfer Protocol (FTP)
FTP allows your to get your website documents and files online by transferring them to your web server using the Internet.
Using an FTP account you can access your website’s files via the File Transfer Protocol.
Broadly speaking, you will have two option for using FTP:
- Via an FTP client that is a program running on your computer. You will find my recommendations for FTP software on the Resources page.
- By an FTP tool provided by your web hosting company. Most hosting providers have a section dedicated to FTP in their control panels or admin dashboards.
With an FTP client, once you’ve installed the software, you will need your FTP login credentials from your web hosting provider. Using them you can access the files in your folders on their web servers.
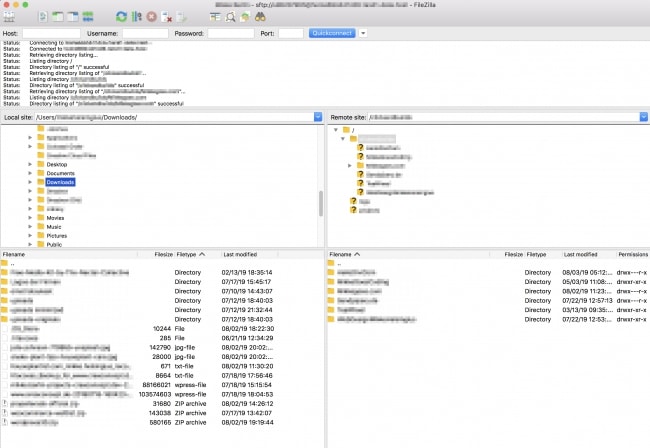
The user interface of an FTP client is quite straightforward. The left side of the window usually shows your local files on your computer, while the right-hand side displays the files and folders on your web server.
You can transfer files by either simply dragging the local folders onto your web space on the right or vice versa.
6: Web browser of your choice
To see what you’re actually creating with HTML, CSS, and other coding tools, you’ll need a good web browser. Pick one that you know inside out and that you’re comfortable with, since you’ll be using it a lot.
Here are three web browsers that I recommend – all of them are free, although Safari works best for Mac only:
- Google Chrome (Download here)
- Mozilla Firefox (Download here)
- Safari
I’ve been using Google Chrome for years already and I can fully recommend it to anyone. It’s fast, stable, and it has one feature that I simply love: the inspector tool. It allows you to access the individual HTML elements and the CSS rules applied to them very easily.
Moreover, the inspector tool also allows you to make adjustments to the elements. Subsequently, you will see the results right away in the browser’s main screen.
Whichever browser you choose, don’t forget to test your websites on other popular browsers, too. Even though they work in a similar way, sometimes there are differences in how certain website elements are rendered.
7: Version control: Git and GitHub
Last but certainly not least, I recommend that you learn how to use Git and GitHub for version control.
What is Git?
Git is a tool you can use for version control throughout your projects. Version control is simply a tool allowing you to take a snapshot of your project when it’s still in development.
Every time you make changes to your project, you have the option of reverting back to an earlier development state. Having this possibility to turn back time is invaluable for those situations where you notice that a new feature isn’t working as expected, for instance.
With Git you have the freedom to try out new features and improvements without the fear of ruining your entire project. When you’re working on larger projects, this is particularly helpful. However, Git is a great tool to use on smaller projects, too.
Git is the preferred version control system for most developers thanks to its advantages over the other systems out there. Git stores your file changes more efficiently and ensures file integrity better than the other solutions available.
What is GitHub?
While Git is a command-line tool you will use for your version control. But what makes it an even better tool for the coding community is GitHub, a forum around which all things involving Git revolve.
GitHub is simply a place where developers can store their projects and connect with like-minded people.
GitHub is an excellent platform to get valuable feedback on your projects and on the code you’ve written. Simply store your project on GitHub and let others have a look at it. They will often provide you with suggestions for improving the quality of your code or help for finding the bugs in it.
Moreover, you can also create projects on GitHub for multiple developers to work on simultaneously, too. GitHub will keep track of all the changes made to the project files, so you will never lose track of who’s made revisions to your project.
Learning how to use Git and GitHub
To learn how Git works and what you can use it for, I’d recommend taking a look at these free, quick introductions to get you started using GitHub:
- How to Use Git and GitHub – Udacity
- GitHub On Demand Training – GitHub
- How to make your first pull request on GitHub – freeCodeCamp
Ready to start using Git and GitHub? Great! Once you sign up to GitHub, make sure to check out their Help section.
Final thoughts: Workflow tools for coding and web development
You don’t need to have all of these tools installed and configured just yet. Use this chapter as a reference for later when you’re developing your first website, for example.
What’s next?
So far, you have learned about what coding is, what programming languages you should learn, and what tools and software you will need.
As long as you know what you want to create and build with code in the future, you’re ready to choose your first programming language.
However, if you want to see progress faster and achieve your coding goals in less time, here’s what you should do:
Take some time to learn and understand the basics of Computer Science. It’ll help you understand coding faster and write better, more efficient programs.
With that said, let’s head over to the next part of our guide, Learning Computer Science Fundametals.
